A well-designed locker room layout does more than fit lockers into a room. It balances storage, circulation, changing space, and privacy while making daily use and maintenance easier.
Whether planning a hotel gym, spa, or poolside changing area, the right layout depends on room dimensions, user needs, and site conditions.
This guide covers locker room dimensions, practical floor plan options, and key design considerations to help coordinate furniture and building services before manufacturing.
How to Plan a Locker Room Layout
Effective locker room space planning starts with user needs, available space, and daily operations. Before choosing a layout, establish how the facility will function.
Define Users and Capacity
Start with the facility type, expected occupancy, and daily operating needs before choosing a locker room layout.
- Peak occupancy and user flow
- Locker capacity and personal storage
- Benches, grooming, and towel storage
- Cleaning and maintenance access
Measure the Space
Base the floor plan on verified site dimensions and identify fixed elements that may affect furniture placement.
- Room length, width, and floor levels
- Doors, windows, and columns
- Walls and fixing conditions
- Plumbing, drainage, and electrical services
Establish Functional Zones
Organize the main activities before positioning individual furniture items to create a clear and practical layout.
- Personal storage and changing
- Seating and grooming areas
- Towel collection and replenishment
- Wet-area transitions and circulation
Locker Room Dimensions and Clearance Planning
Locker room dimensions depend on occupancy, furniture selection, and circulation requirements. No single room size or aisle width works for every project.
Effective space planning considers more than furniture dimensions. It also accounts for door operation, user access, and the clearances needed for daily activities.
Locker Dimensions and Door Clearance
Record the width, depth, and height of each locker configuration. Check how open doors affect nearby walkways, benches, and adjacent lockers.
A locker may fit on the floor plan but still create congestion when several doors open at once.
For detailed cabinet specifications, see our Commercial Gym Lockers: Materials, Dimensions, Ventilation & Locking Systems guide.
Bench Dimensions and Changing Space
Bench dimensions alone do not determine whether a changing area will function well.
Allow space for users to sit, stand, handle personal belongings, and access nearby lockers. Check that bench placement does not obstruct locker doors or main circulation routes.
Wall-mounted, freestanding, and built-in benches create different spatial constraints. Consider installation conditions, floor clearance, and cleaning access when selecting an arrangement.
Locker Aisle Width and Circulation Clearance
Measure clear walking space after accounting for fixed furniture and other obstructions. Pay particular attention to entrances, corners, and areas around changing benches.
For U.S. projects subject to the 2010 ADA Standards, Section 403.5.1 generally requires accessible walking surfaces to provide a minimum clear width of 36 inches, subject to specified exceptions. This is an accessible-route requirement, not a universal recommended width for every locker aisle.
Busy facilities may require additional space for opposing traffic, open locker doors, and peak occupancy. Verify the layout against applicable codes and actual operating needs.
Accessible Clearances and Turning Space
Accessible areas need sufficient approach, maneuvering, and turning space. These clearances must remain usable after furniture is installed.
Sections 222 and 803 of the 2010 ADA Standards for Accessible Design address accessible locker rooms and dressing spaces. Section 803 covers requirements including turning space and door swing, while Section 903 specifies technical requirements for accessible benches.
Confirm the applicable requirements with the project design team before finalizing the layout.
Common Locker Room Layout Options
The best locker room floor plan depends on room dimensions, entrance locations, storage needs, and circulation requirements. Three common layouts offer different ways to organize lockers and changing benches.
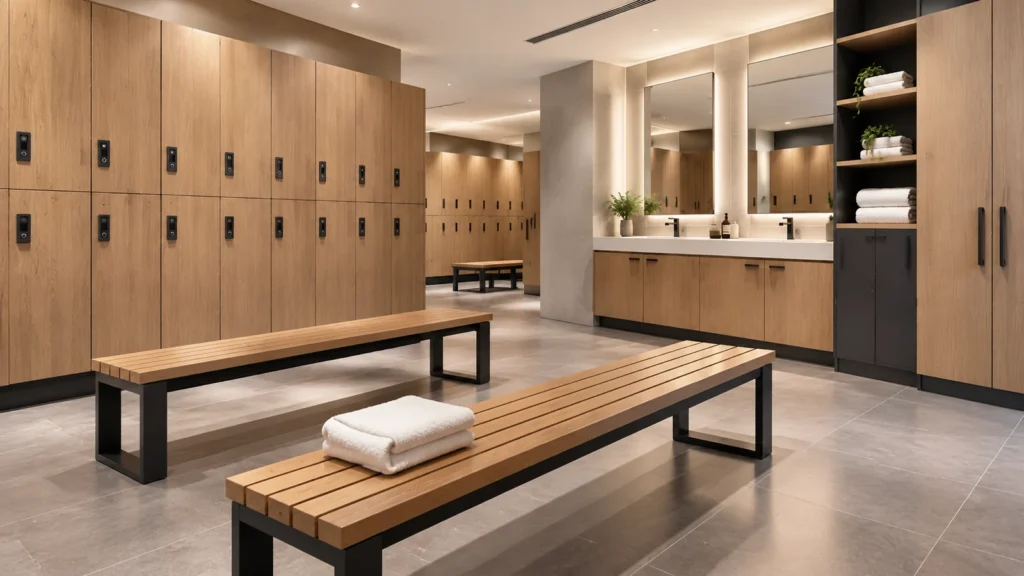
Lockers line the walls, leaving the center relatively open. This layout can suit rectangular rooms where clear circulation and flexible central space are priorities.
Check wall constraints, locker door swings, and bench placement before finalizing the floor plan.
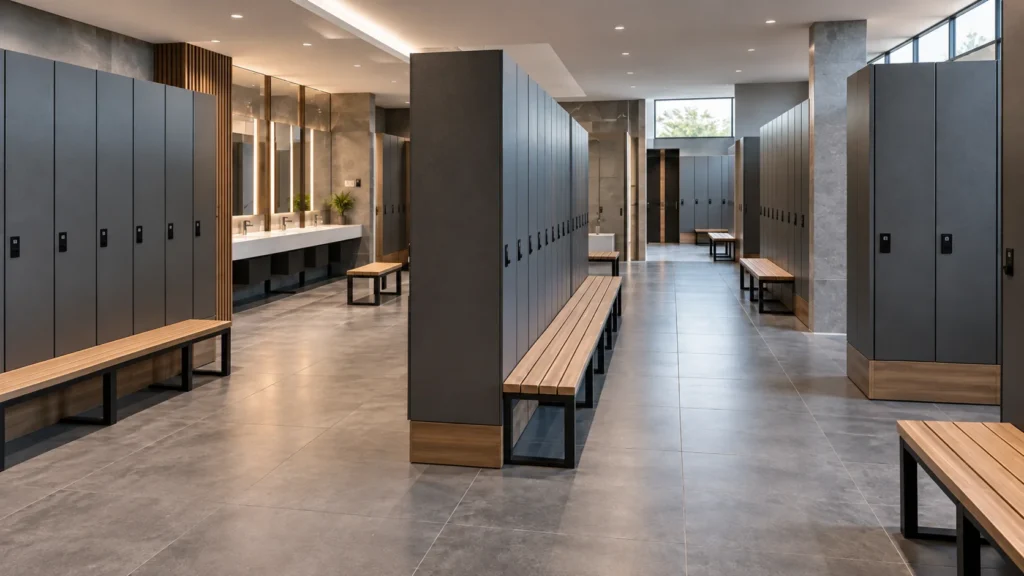
Back-to-back locker rows form central islands, with locker doors facing outward toward aisles on both sides. This arrangement can increase storage capacity in larger rooms.
Maintain clear aisles on both sides for locker access, open doors, and peak-hour traffic.
Two separate locker rows face each other across a shared central aisle. This arrangement provides direct access from a common walkway.
Allow enough space between facing lockers for door operation, user access, and two-way circulation.
Comparing Locker Room Layout Options
| Layout Option | Main Advantage | Key Consideration |
|---|---|---|
| Perimeter Locker Layout | Preserves relatively open central space. | Wall constraints, locker door swings, and bench placement. |
| Island Locker Layout | Organizes high-capacity storage in central locker banks. | Aisle clearance on both sides and peak-hour circulation. |
| Opposing Locker Rows | Provides direct access to two facing locker banks. | Clearance between facing doors and two-way traffic. |
Once the layout is established, the next step is selecting furniture that fits the available space and intended use. Our Locker Room Furniture: Types, Materials & Buying Tips guide explains how to choose lockers, benches, vanities, storage cabinets, and suitable materials.
These layouts are starting points, not universal solutions. Compare them against actual room dimensions, circulation needs, and building constraints before finalizing the plan.
How to Plan Wet and Dry Zones
Wet and dry zoning helps organize changing activities, towel handling, and daily operations. The layout should support a clear transition between showers, pools, and dry changing areas.
Dry Changing and Storage Areas
Position lockers, benches, and grooming stations beside circulation routes without obstructing them. Keep personal belongings and dry items away from areas regularly exposed to water.
Check locker door swings and bench placement. Users should be able to change comfortably without blocking the main walkway.
Wet-Area Transitions and Towel Storage
Poolside and spa changing rooms need a practical transition between wet facilities and dry changing areas.
Plan where users collect clean towels, return used towels, and access robes or other supplies. Keep these functions accessible without disrupting circulation.
Keep clean and used towels separate, with collection and storage locations suited to the facility’s operating procedures.
Furniture Placement Near Wet Areas
Furniture near showers and pools may face frequent splashing, humidity, and intensive cleaning. Its construction should suit the actual exposure conditions.
Check drainage, cleaning access, edge sealing, joints, and hardware specifications. Coordinate cabinet locations with plumbing and other building services.
A moisture-resistant finish alone does not guarantee that an entire furniture assembly is suitable for every wet environment.
| Planning Item | What to Check |
|---|---|
| Dry Changing Areas | Locker access, bench placement, and clear circulation routes. |
| Wet-Area Transitions | Clear routes between showers, pools, and dry changing areas. |
| Towel Storage | Convenient access to clean towels and designated collection points for used towels. |
| Furniture Near Wet Areas | Material suitability, edge sealing, joints, hardware, and cleaning access. |
| Building Services | Drainage, plumbing connections, and maintenance access. |
Locker Room Layout Examples for Different Facilities
Different facilities require different combinations of storage, privacy, and circulation. The layout should reflect daily activities and operational needs.
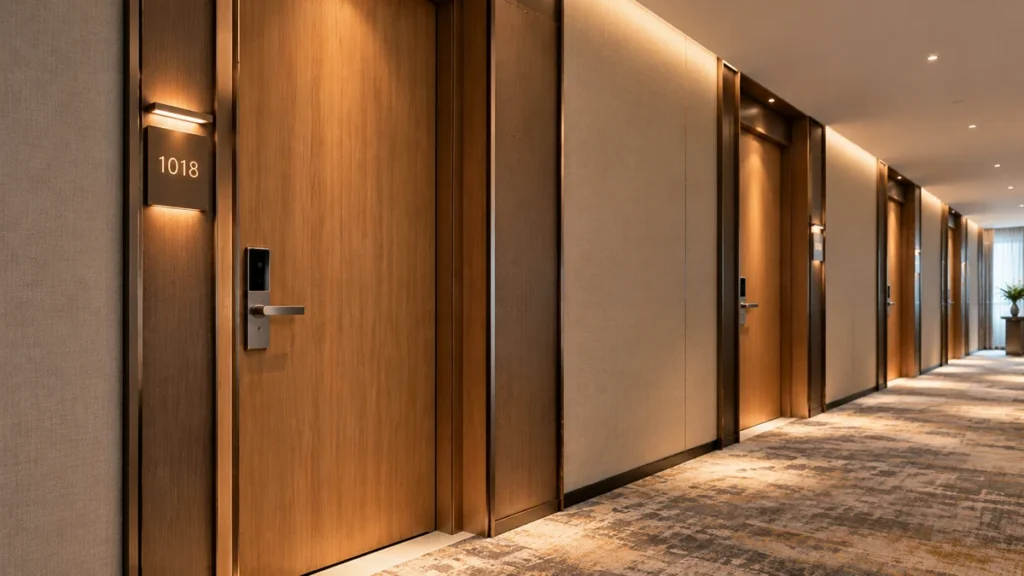
Hotel gyms need practical storage that complements the interior design. A perimeter layout can suit compact rectangular rooms. Position benches and towel storage without blocking access between the entrance, lockers, and changing areas.
Efficient storage, coordinated finishes, and clear circulation.
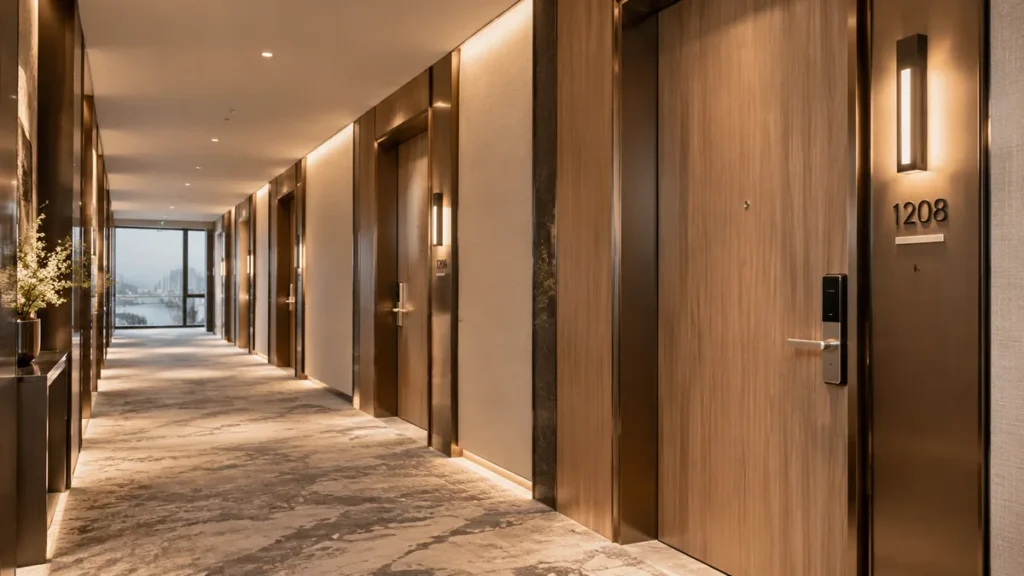
Spa and wellness facilities often need greater privacy, grooming space, and convenient towel storage. Separate lockers from vanity stations and wet-area transitions where space allows. Provide practical access for cleaning and replenishment.
Guest privacy, grooming stations, and towel and robe storage.
Poolside changing rooms need a clear transition between wet and dry areas. Place towel collection and replenishment points along the natural user route. Select furniture and hardware for expected water exposure and cleaning routines.
Wet-dry separation, towel handling, moisture exposure, and circulation.
Employee changing rooms may require personal lockers, workwear storage, shoe compartments, and operational cabinets. Separate personal belongings from cleaning products and workplace supplies. Arrange storage to support daily staff movement and replenishment.
Personal storage, workwear organization, and operational access.
Accessibility, Privacy, and Circulation
Accessibility, privacy, and circulation should be considered before finalizing a locker room floor plan. Early planning helps avoid costly design revisions.
Accessible Routes and Furniture Access
For U.S. projects, review applicable ADA requirements during early planning.
| Planning Item | ADA Reference | Key Requirement |
|---|---|---|
| Locker Rooms | Sections 222 and 803 | At least 5% of rooms of each type of use in each cluster, but no fewer than one room, must comply with Section 803. |
| Lockers | Sections 225.2.1 and 811 | At least 5% of each locker type, with a minimum of one, must comply. |
| Accessible Benches | Section 903.5 | Seat height must be 17–19 inches above the finished floor. |
These are key requirements, not a complete compliance checklist. Review the 2010 ADA Standards for Accessible Design and applicable local codes.
Privacy and Door-Swing Conflicts
Position privacy partitions without obstructing accessible routes or maintenance access. Check entrance sightlines, locker door swings, and changing cubicles to prevent conflicts with nearby furniture.
Avoiding Congestion at Peak Times
Plan for simultaneous locker use, bench seating, and towel collection. Keep main aisles clear when doors are open, and avoid placing towel stations where queues could block circulation. Ensure staff can replenish supplies and clean the room without disrupting access.
Coordinate Furniture with Building Services
Locker room furniture must work with the building’s layout, services, and installation conditions. Coordinate these elements before manufacturing to avoid costly revisions.
Coordinate Furniture and Fixed Millwork
Confirm furniture dimensions, quantities, finishes, and installation methods. Check door swings, drawer access, wall fixings, and transitions between adjacent finishes.
Our Commercial Gym Fit-Out Guide: Design, Materials & Costs explains how changing-room joinery, wall panels, glass partitions, and storage integrate into a complete interior package.
Check Building-Service Interfaces
Coordinate furniture placement with plumbing, electrical outlets, ventilation, drainage, and maintenance access.
Ensure cabinets do not block service openings and vanities align with planned plumbing connections. Use removable panels where ongoing access is necessary.
Confirm installation responsibilities with the relevant design and construction teams.
Confirm Shop Drawings Before Manufacturing
Architectural plans establish design intent, while shop drawings define fabrication and installation details.
Before approving production, verify:
- Critical dimensions and site measurements.
- Fixing points and installation clearances.
- Material finishes and hardware specifications.
- Interfaces with plumbing, electrical services, and adjacent systems.
Agree on drawing approvals, quality checks, and installation responsibilities before production begins.
Locker Room Layout Checklist Before Finalizing Drawings
Before approving the final locker room floor plan, check the following items.
01 Space and Furniture
02 Accessibility and Building Services
03 Drawings and Installation
Resolve dimensional conflicts and confirm critical interfaces before manufacturing begins. This helps reduce avoidable revisions and supports smoother installation.
Conclusion: Plan a Locker Room Layout Around Your Project
A successful locker room layout balances storage, circulation, accessibility, and daily operations. Instead of maximizing locker capacity, focus on creating a space that works for both users and staff.
Start with accurate measurements, then coordinate furniture, building services, and shop drawings before moving into custom furniture manufacturing.
VOLANT FIT-OUT
Planning Your Locker Room Project?
Custom Furniture & Fixed Millwork
VOLANT provides custom furniture and fixed millwork for hotel wellness and recreation projects, including lockers, benches, vanities, and storage cabinets.
Explore our furniture solutions or contact our team to discuss your project dimensions, drawings, finishes, and requirements.
FAQs
What Makes an Efficient Locker Room Layout?
An efficient locker room layout balances storage capacity, clear circulation, accessibility, and daily operations. Furniture placement should reflect room dimensions and user needs.
What Are the Most Common Locker Room Layouts?
Common options include perimeter lockers, island locker rows, and opposing locker rows. Each offers different advantages in storage capacity, circulation, and space utilization.
What Determines the Right Size for a Locker Room?
Locker room size depends on expected occupancy, locker quantities, furniture dimensions, and circulation requirements. Applicable accessibility standards and building codes also affect space planning.
How Wide Should Locker Room Aisles Be?
Under the 2010 ADA Standards, accessible walking surfaces generally require at least 36 inches of clear width, subject to specified exceptions. Other locker room aisles may require additional space for locker access and two-way traffic.
Which ADA Requirements Apply to Locker Rooms?
The 2010 ADA Standards address accessible locker rooms, lockers, turning space, and benches. Applicable requirements depend on the facility and specific design features.
How Should Wet and Dry Areas Be Separated in a Locker Room?
Wet and dry zones should be arranged to limit water exposure to changing and storage areas. Drainage, towel collection, cleaning access, and suitable furniture materials are key considerations.
What Must Be Checked Before Manufacturing Locker Room Furniture?
Critical checks include site dimensions, furniture specifications, finishes, hardware, and building-service connections. Approved shop drawings help resolve dimensional conflicts before production.